We use cookies on this site to enhance your user experience
By clicking the Accept button, you agree to us doing so. More info on our cookie policy
We use cookies on this site to enhance your user experience
By clicking the Accept button, you agree to us doing so. More info on our cookie policy
Add USB interface to your mount
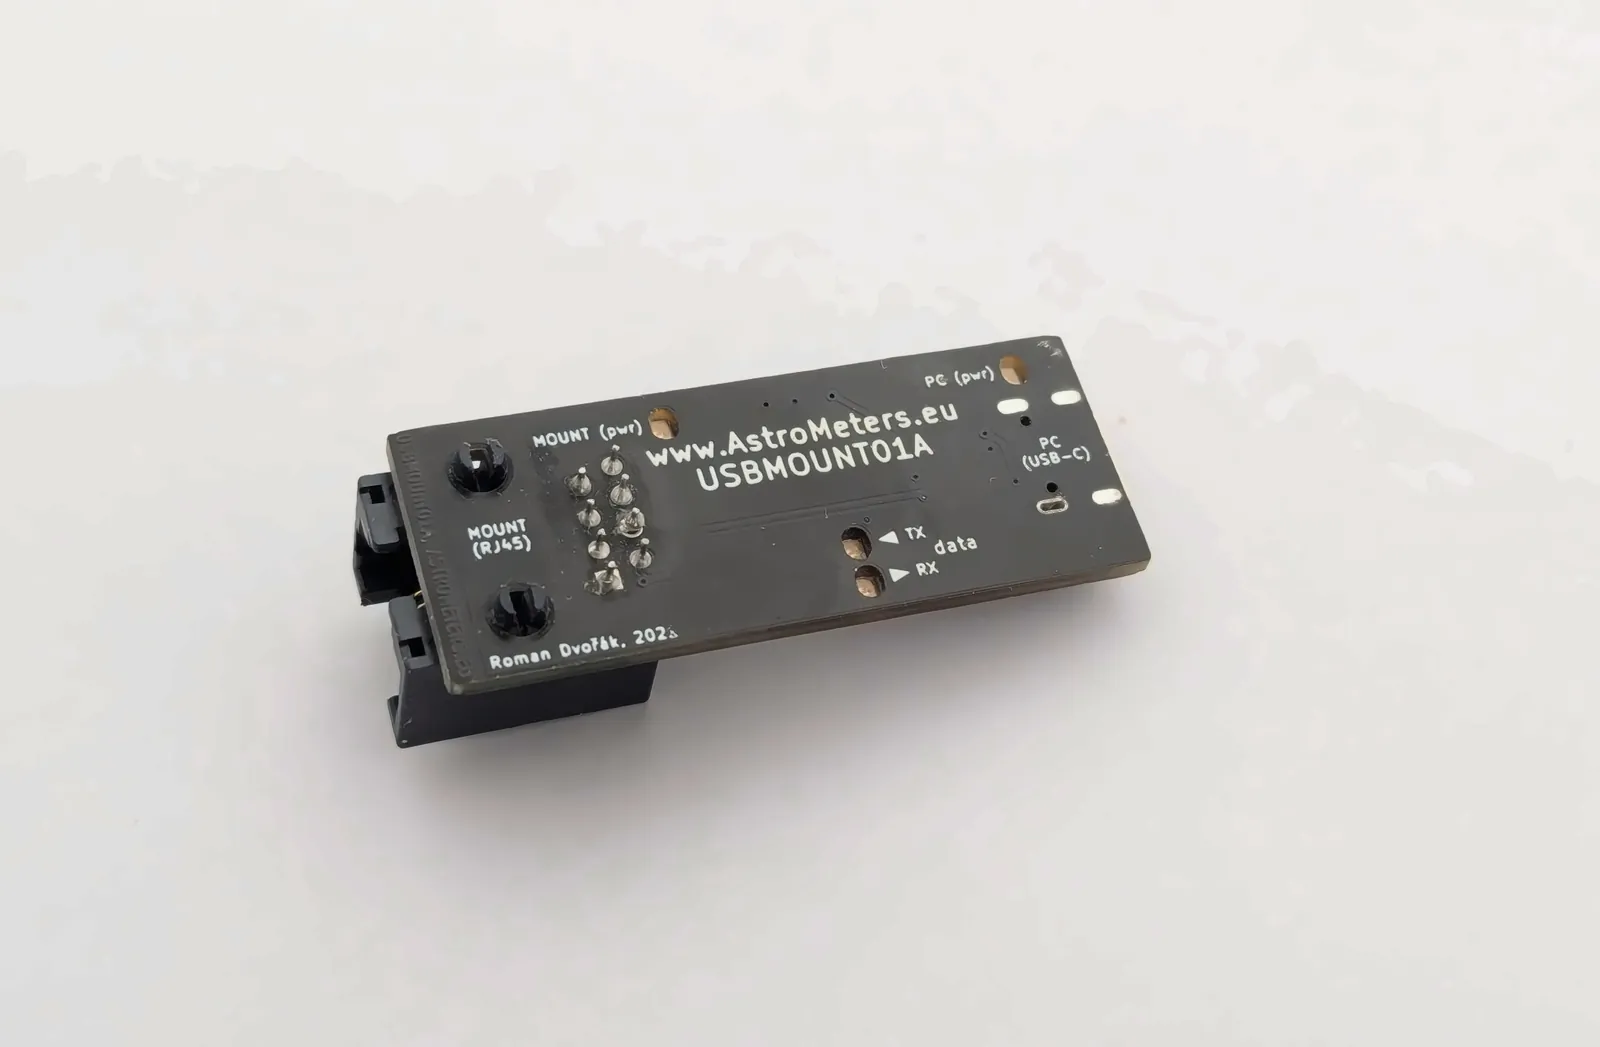
Description
Maximize the potential of your telescope mount with direct computer control.
While many amateur astronomers appreciate mounts like Skywatcher for their optimal balance of price and quality, the true potential of many mounts, across various brands, is unlocked when connected to a computer. Enhance your observational capabilities and precision with the USBMOUNT converter.
PC (pwr) LED will light up. For optimal performance, it’s best to use a high-quality cable.MOUNT (pwr) LED will illuminate.Attach using the provided 3M DualLock Reclosable Fastener. Before adhering, clean and degrease the surface. Once glued, press down firmly for some time.
For long-distance USBMOUNT (EQmod) operations, opt for a longer RJ45 cable on the telescope side. A standard, shielded ethernet cable is recommended. However, avoid USB cables longer than 5m to maintain reliability.
The USBMOUNT features 4 LED indicators. The two red LEDs signal power in the adjacent connector, confirming a successful connection. The two orange LEDs monitor data transfer: TX indicates data flowing from the computer to the mount, while RX signals the opposite.
USBMOUNT01 seamlessly integrates with modern Linux computers. No driver installation is needed – just connect the device and it appears as a serial port (e.g. /dev/ttyUSB0 or /dev/ttyACM0). You can then operate the mount with your go-to control software, such as INDI combined with KStars.
After connecting, the converter appears as a COM port – check Device Manager → Ports (COM & LPT) for the assigned number. To control the mount from ASCOM-compatible applications, install the EQMOD ASCOM driver and select this COM port in its settings. If no COM port appears, please contact us.
Enable the Telescope Control plugin in Stellarium and add a new telescope. On Windows, choose the ASCOM connection with the EQMOD driver; on Linux, connect through INDI with the EQMod Mount driver. Select the serial port assigned to USBMOUNT01.
In the Ekos profile editor, select the EQMod Mount driver as the mount. Start INDI, open the Connection tab of the EQMod Mount driver in the INDI Control Panel, set the port to the one assigned to USBMOUNT01 and press Connect.
| Mount Name | Connector Type | Additional Information |
|---|---|---|
| EQ8 | RJ45 | |
| AZ-EQ6 | RJ45 | |
| EQ6-R | RJ45 | |
| NEQ6 PRO | RJ45 | |
| EQ6 Pro | RJ45 | |
| EQ6 Synscan | RJ45 | |
| HEQ5 SynScan | RJ45 | |
| HEQ5 SynTrek | RJ45 | |
| EQ5 Synscan | RJ45 | |
| EQ4 with Synscan (EQ5) | ||
| EQ3-2 with Synscan |
Note: This list might not cover all compatible mounts.